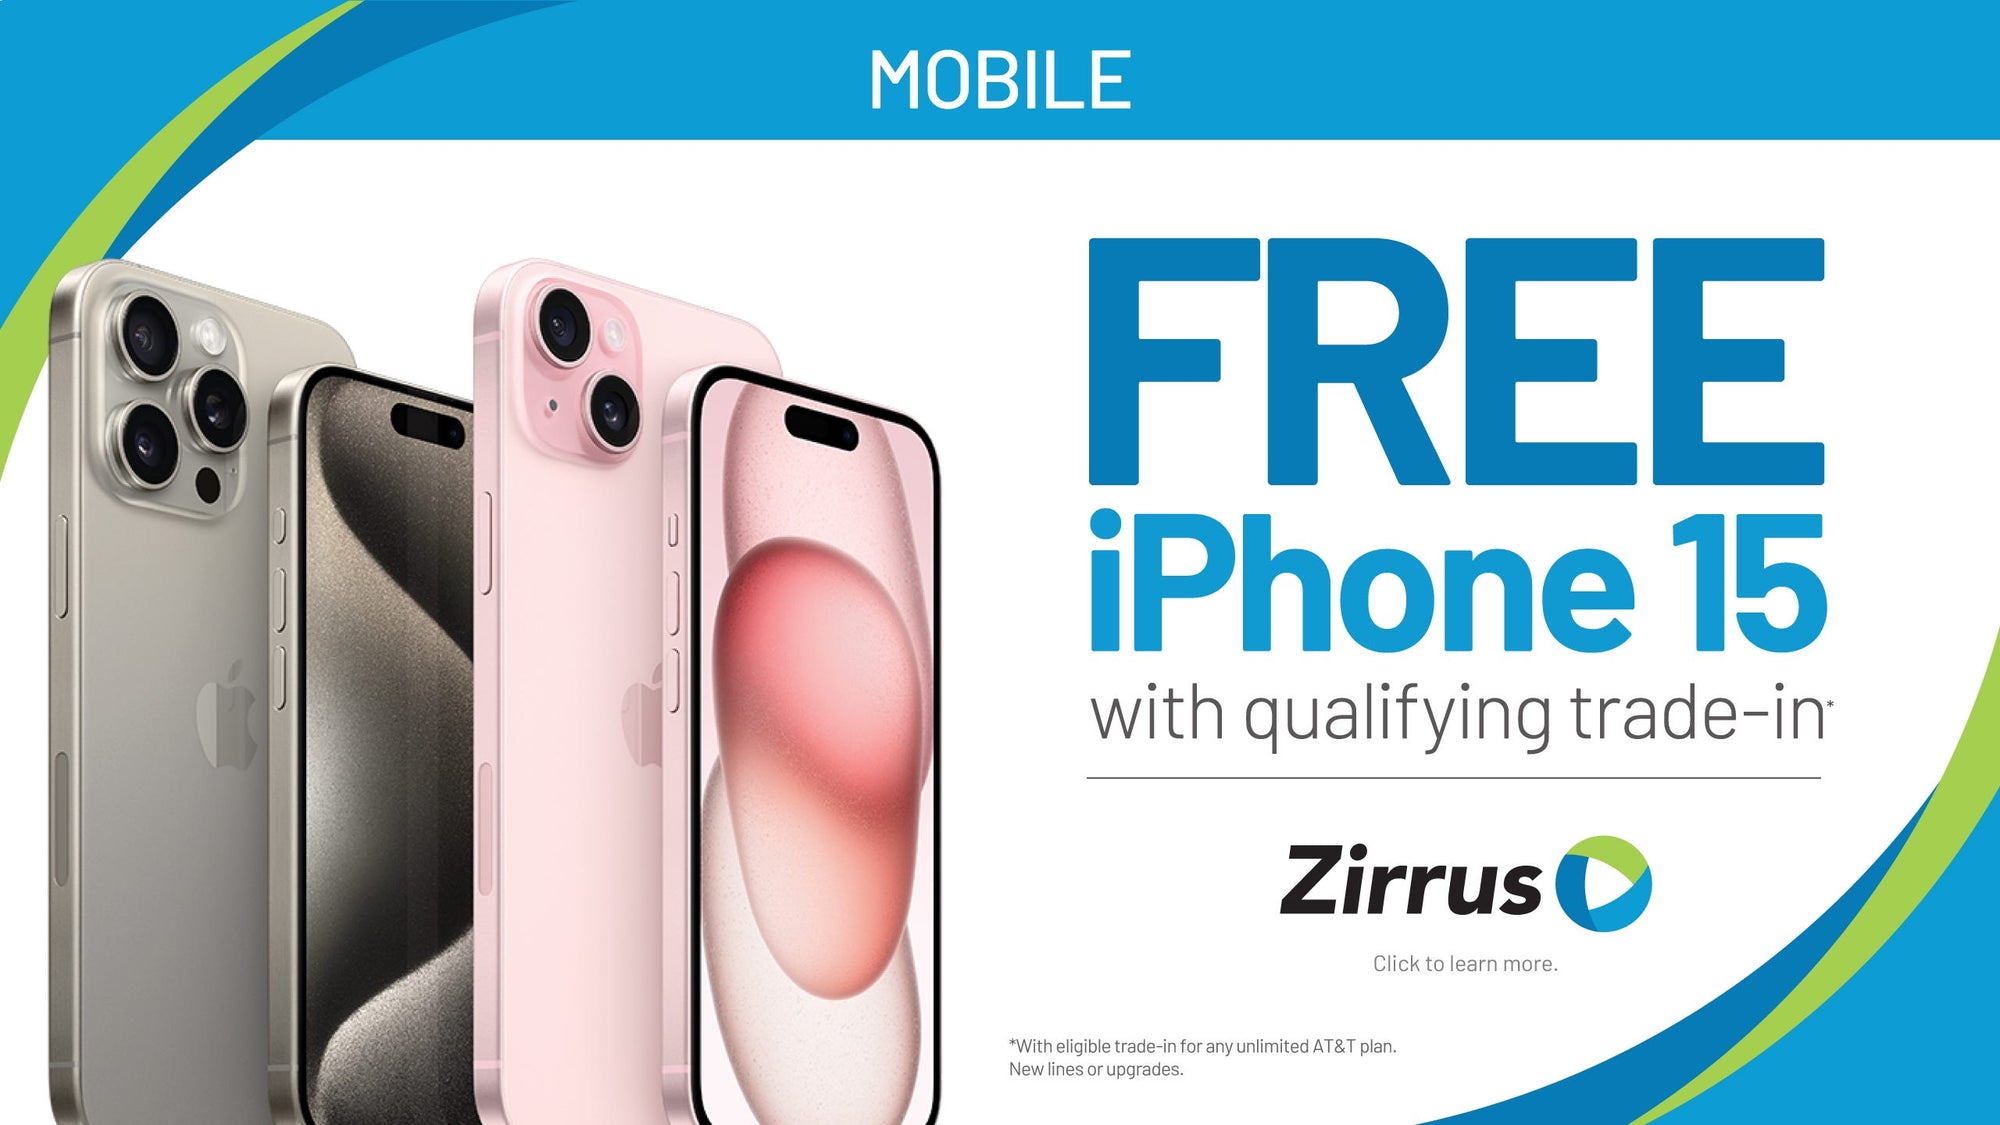
Zirrus


4.9 out of 5 stars (1900+ reviews)
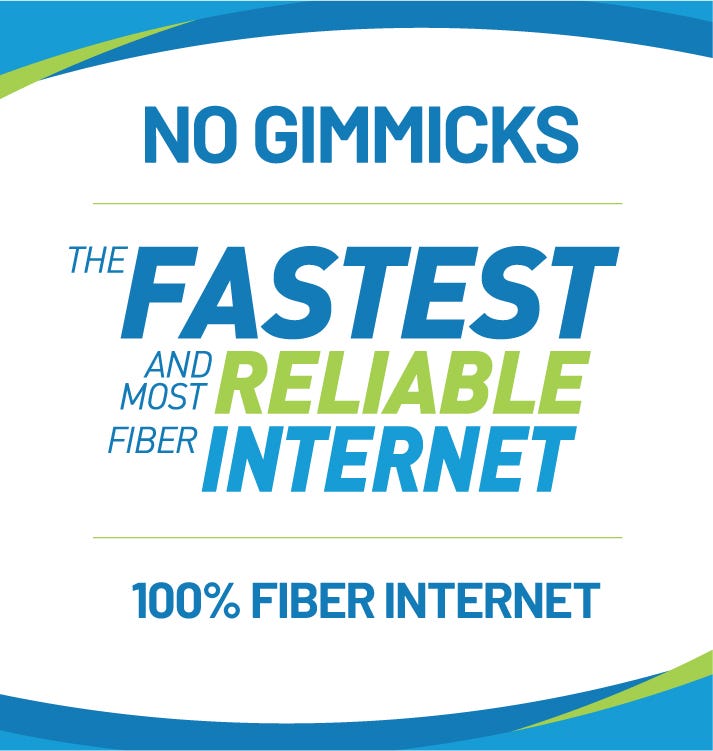
100% Fiber Internet up to 6 GIG upload and download
Wi-Fi 6 campus wide coverage
Ethernet: Point to Point or Direct to Fiber Internet Access
24/7 Service Desk
Cybersecurity Best Practices
Proactive Monitoring, Preventative Maintenance
Flexible Solutions, Get More from Your IT Investment